
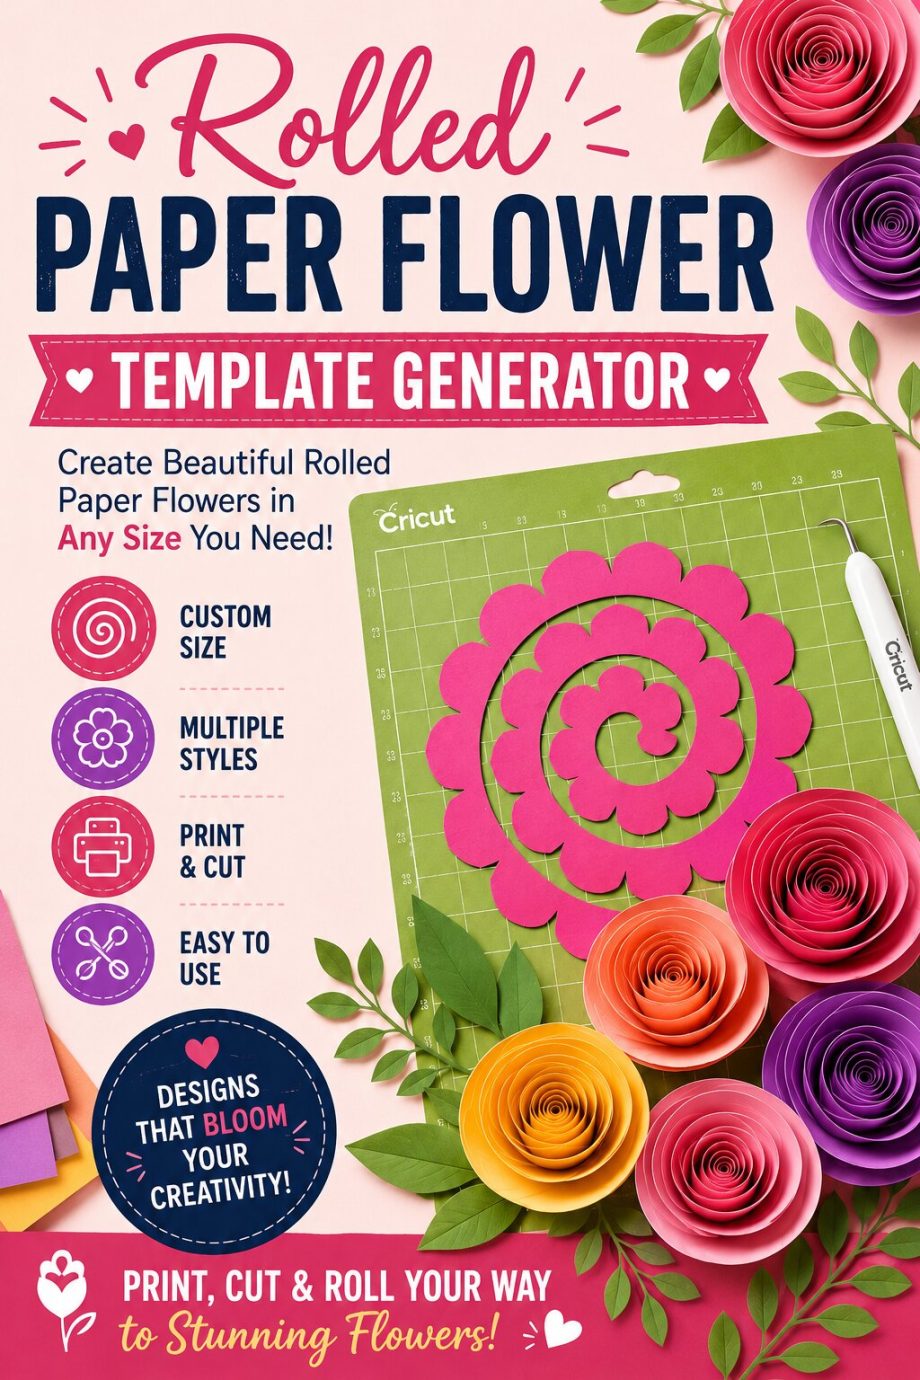
Rolled Paper Flower Template Generator
Make the spiral you cut, roll and glue into a paper flower — at the exact size you need. Choose an edge, set the turns and the strip width, then download an SVG for your cutting machine, a 300 dpi PNG, or a printable PDF to cut by hand.
Start from a template
Click any template to open the editor — every setting stays adjustable.
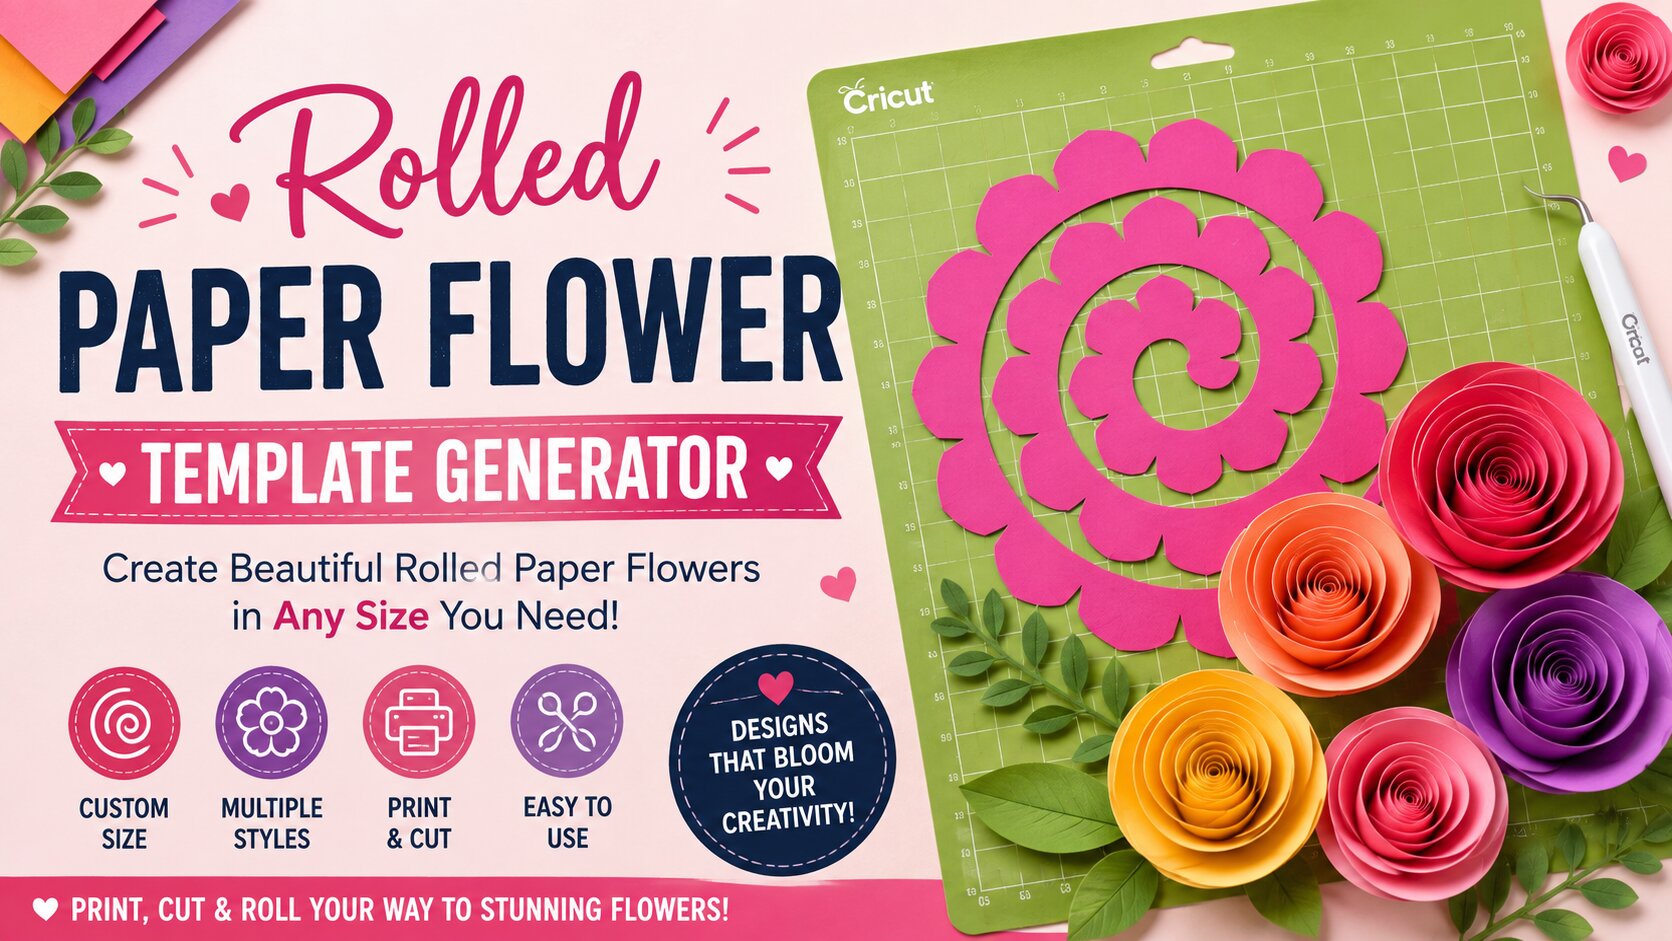 Open the editor
Which edge makes which flower
The edge cut along the outside of the strip becomes the petal shape once the spiral is rolled. That one choice does more to the finished bloom than anything else in the tool.
- Scallop — even half-rounds. The classic garden rose, and the safest place to start.
- Rounded petal — taller lobes, so the bloom reads fuller, closer to a peony.
- Lotus point — convex sides rising to a sharp tip. Dahlia and water-lily shapes.
- Ogee rose — broad domes cut deep into the strip so the petals overlap. The big cabbage-rose look.
- Rounded tab — wide tabs with soft shoulders on a thin cut line. Graphic rather than botanical.
- Zigzag — straight spikes, for asters and spiky dahlias.
- Gear tooth — square tabs, crisp and modern.
- Leaf spray — slim separated petals on a hair-thin ribbon, for an airy spider mum.
- Fringe — thin strips that splay open into a pom-pom or marigold.
The two controls that matter most
Petal reach pushes the petal tips outward into the gap between windings. Valley cut does the opposite — it bites the notches between petals back into the strip itself. Reach on its own only ever gives a bumpy ribbon. Valley cut is what turns plain scallops into a full overlapping rose, because it lets each petal grow far taller than the gap it sits in.
Reach stops at 96% deliberately. At 100% the tips would touch the next winding and the rings would fuse into one blob, which ruins the cut file.
What paper to use
65–80 lb cardstock, roughly 176–216 gsm, is the range that works. Text-weight paper is too floppy to hold a petal shape once the coil relaxes, and 110 lb fights the roll hard enough that the centre never tightens. Heavily textured stock tends to crack along the folds at the petal tips.
Sizing
Every figure the tool shows is a true cut dimension, not a preview scale. A 6 inch template gives roughly a 1 to 2 inch finished bloom. The range is that wide because it depends entirely on how tightly you roll and how far you let the coil relax before gluing.
For a bigger flower, add turns as well as width. Widening the template alone gives a larger but equally loose spiral; more turns is what puts more paper into the coil. Watch the strip length readout — that is the number that actually drives the finished size.
Cutting it
The whole template is one closed path, so a craft machine cuts it in a single pass and nothing falls loose out of the sheet. Upload the SVG to Cricut Design Space or Silhouette Studio as it is; there is nothing to ungroup or weld.
Keep an eye on the narrowest point readout. It measures the thinnest paper left between a notch and the inner cut line, and it turns amber below 1.6 mm, roughly where cardstock starts to tear as you roll. A deep valley cut on a small template is the usual cause — either ease the valley cut back or scale the template up.
Rolling and gluing
Start at the outer edge and curl the petals around a skewer, winding toward the centre and keeping the coil flat rather than cone-shaped. At the middle, let go and let it open until it is the size you want, then set it on a small paper circle with hot glue and hold for twenty seconds.
- Cut the whole path. It is one closed line, so a craft machine cuts it in a single pass. By hand, start at the outer edge and follow the spiral in.
- Roll from the outside in. Curl the outermost petals around a skewer and keep winding toward the centre, staying flat rather than cone-shaped.
- Let it relax. Release the coil and let it open until it is the size you want. The tighter you started, the denser the bloom.
- Glue the base. Set the coil on a small paper circle, or on the plain tail if you added one, and hold it in hot glue for twenty seconds.
To glue to the spiral itself instead, turn up the base tail slider. That leaves a plain undecorated run at the outer end which spirals down under the finished flower and gives you a base to press onto. It is off by default so that petals run the full length of the strip.
Questions
Can I cut these by hand? Yes. Use the printable PDF, which places the template at true size on Letter or A4. Fewer turns and a larger petal size make hand-cutting much faster.
My flower collapses in the middle. The coil was too loose when it was glued, or the paper is too light. Roll tighter, pause before releasing, and glue while it is still under a little tension.
The petals tore while I was rolling. Check the narrowest-point figure before cutting. Below about 1.6 mm the paper between the notches has nothing left to hold on to.
What is the round bud option? It leaves a hollow centre with a disc in the middle, joined to the spiral by a short neck so it stays part of the same cut. It suits the airy edges like the leaf spray, where the middle of the flower would otherwise look empty.